Getting Started with Source-Live Pro LL
This article is part of the Source-Live Pro LL User GuideTo get started with Source-Live, follow the steps outlined below. You can find more information on all of these steps in the next articles.
- Open Source-Live. Download the installer from the Source-Live webpage if you have not already done so and run the installer.
- You do not need an iLok or iLok license. You only need a Source Elements account. You can get a trial or subscribe via the Source-Live webpage, and you can manage your Source-Live account at https://dashboard.source-elements.com/products.
-
Select a streaming source. Select the input device or the screen you will use.
- On the main panel, in the ‘Sources’ section, press "Select…"
- From the dropdown menu, select ‘Capture Input Device’, ‘Capture Screen’ or ‘Capture Window’.
- Capture Image (Watermark): this option allows you to configure a static background for an audio-only stream. For more information, visit the article for how to capture an image on Mac or how to capture an image on Windows.
- Capture Input Device: this option allows you to connect any camera devices for streaming. For more information on settings and buffering, visit the article for how to capture an input device on Mac or how to capture an input device on Windows.
- Capture Screen: this option allows you to capture the entire display (with or without your cursor. For more information on the available settings, visit the article for how to capture a screen on Mac or how to capture a screen on Windows.
- Capture Window: this option allows you to capture an individual window on your screen or an image to leave as a static background for an audio-only stream. For more information on the available settings to configure, visit the article how to capture a window on Mac or how to capture a screen on Windows.
- Capture an NDI™ source: this option makes it possible for you to receive wireless video and audio signal from your iOS device. For more information on the available settings, visit the article for how to capture an NDI source on Mac or how to capture an NDI source on Windows.
-
Configure your settings. Click the gears icon to access the advanced settings for your broadcast. Here, you can set up:
- Your authentication account (username and password). Your account should be activated automatically with your purchase however if you get an account error, contact us for support.
- Username: your Source Elements account.
- Password: the password for your Source Elements account.
- PASSKEY: alphanumeric or special characters of your choosing up to 50 characters, with a minimum of 4 characters.
- Your video settings (frame rate and video quality).
- Your audio settings (audio input, sample rates and channels).
- Your authentication account (username and password). Your account should be activated automatically with your purchase however if you get an account error, contact us for support.
For troubleshooting or error messages, read through this article.
Starting a Broadcast Session
To start broadcasting, enter your Source Elements account credentials in the Authentication section of the Settings panel.

Assign a PASSKEY for users to enter when watching your broadcast, then click "Save".
Note: the PASSKEY can be any alphanumeric or special character (!, ?, @) of your choosing, up until 50 characters. Select a secure enough password to broadcast your stream to your intended audience only!
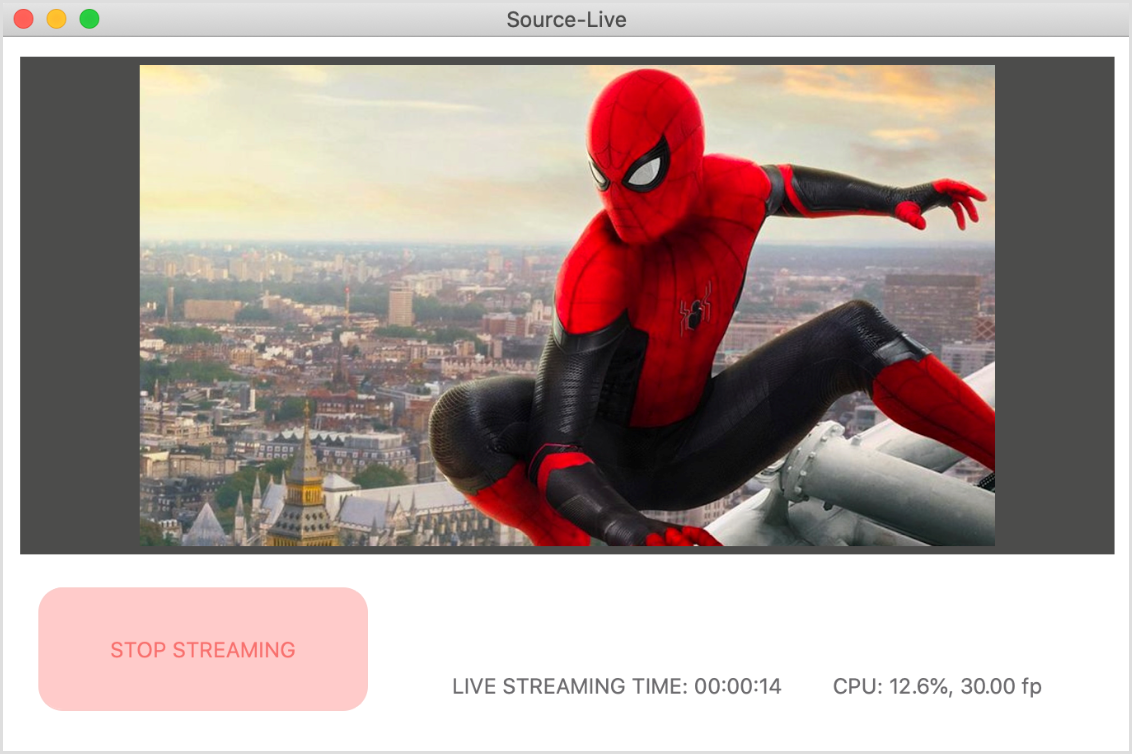
Next, press the "START STREAMING" button. Source-Live will check its settings and the status will change to “Stop Streaming”.

Source-Live will initialize and go into broadcast-ready mode. Now your viewer can go to your Source-Live Gateway and connect.
Testing your Stream
Before inviting viewers, it is always recommended that you check your settings. You can test Source-Live by clicking the “Go to Gateway” button in the application. You cannot change your settings while broadcasting however when you restart broadcasting your viewers automatically refresh.
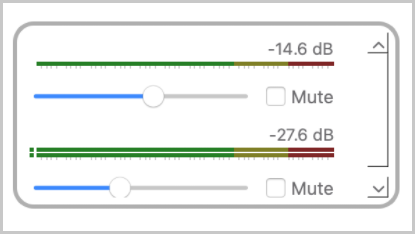
When you have more than one audio source, you will see two audio bars in the main Source-Live page:

- The top bar, which displays the settings for the sound coming from your computer.
- The bottom bar, which displays the settings for the sound coming from your microphone.
If you are testing your stream via Source-Live Gateway yourself, and are using the same computer, laptop or device from where the stream is coming, make sure to mute your audio in the Gateway to avoid any loud audio feedback or duplication.
Ending a Broadcast Session
Click "STOP STREAMING" to end your broadcast. If you forget, sessions are closed automatically if you quit Source-Live. In the event of a hardware, software or network failure, you will be disconnected by the server.
Table of Contents