Source-Connect 3.8 for Windows, FlexASIO and Source-Nexus I/O with Pro Tools
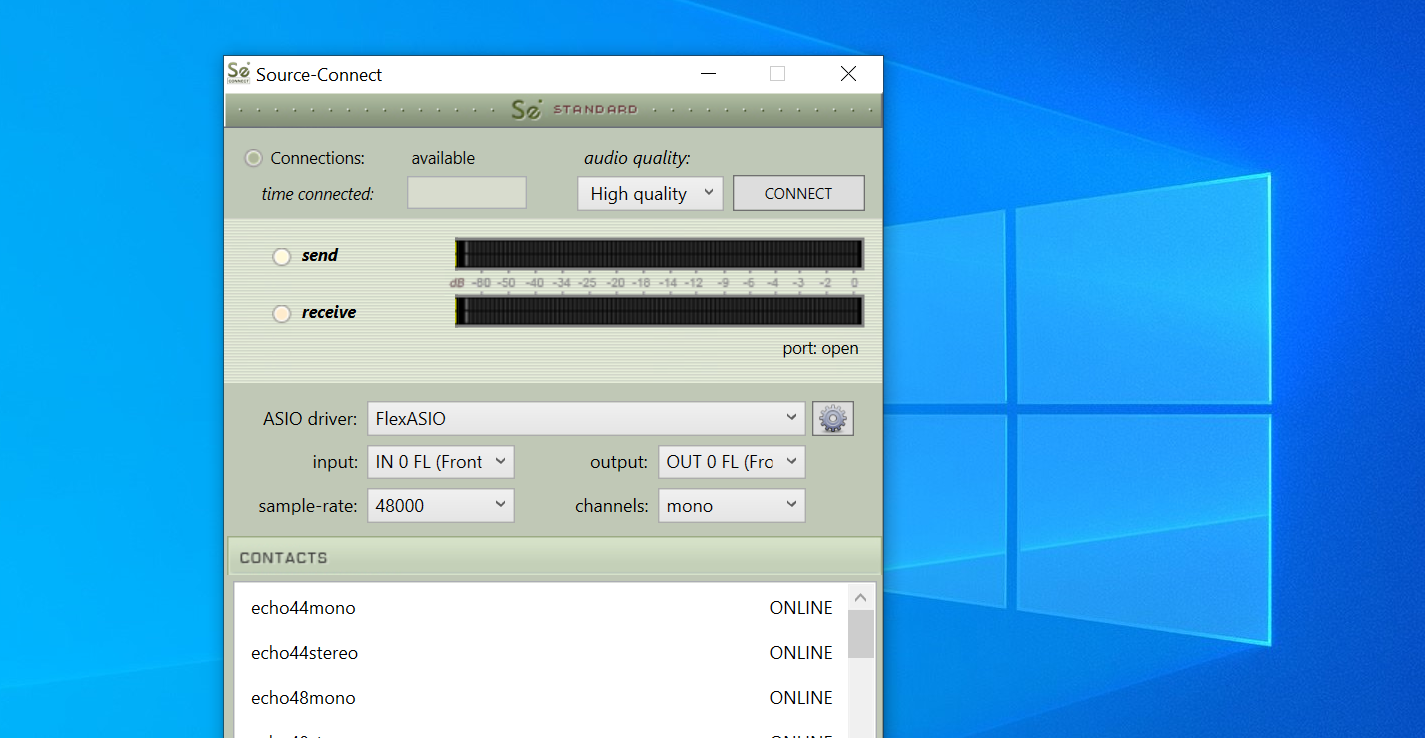
This article is part of the Source-Nexus 1.3 User GuideWhen using Source-Connect 3.8 on Windows together with Source-Nexus I/O and Pro Tools, it is highly recommended to use FlexASIO as the ASIO Driver in Source-Connect. FlexASIO uses whatever is set as the system audio as an input and output. You can, however, force it to use a different configuration by using a .toml file as described in this help topic.
Below, you will find the steps you need to follow to get this working on your Windows PC with the two methods mentioned above.
When working with Source-Nexus I/O on Windows, make sure you do NOT rename the Source-Nexus A and Source-Nexus B drivers in the Sound Control Panel, as that will prevent the FlexASIO driver (and the .toml file, if you use it) to work correctly.
Using Source-Nexus A and B as your Windows Sound Settings
- In your Sound Settings, make sure Source-Nexus A is selected as your input and Source-Nexus B is selected as your output device.

- In Source-Connect, make sure “FlexASIO” is selected as the ASIO Driver.

- Make sure that those Nexus devices are not in use in any other application than the DAW when trying to use it with FlexASIO.
- In the Source-Nexus I/O plugin, choose Source-Nexus A / Channel 1&2 as your Send device, and Source-Nexus B as your Receive device (also Channel 1&2).

Using the FlexASIO Configuration File
- Download and unzip the FlexASIO.toml file.
- Place the .toml file on your User folder on Windows (C:\Users\[yourUsername].
- Change your input and output in the Windows Sound Settings so that it is NOT using Source-Nexus A and Source-Nexus B. Also, make sure that those two devices are not being used in any other application other than your DAW.
- On Source-Connect, make sure FlexASIO is selected as the ASIO Driver.

- In the Source-Nexus I/O plugin, choose Source-Nexus A / Channel 1&2 as your Send device, and Source-Nexus B as your Receive device (also Channel 1&2).
