Setup Guides - What Works? The Built-in Sound Card Method
This article contains setup informationWindows Audio: Best Practices
Record and Playback Source-Connect Sessions: The "Built-in Sound Card" Method
By Jason McCOY
So you want to record and playback audio during a Source-Connect session? I'm right there with you. Below you will find steps to accomplish this using your computer's built in sound card. I don't personally recommend the "Built-in Sound Card" method. I heard some minor but noticeable interference when I did it. Truth be told though it probably could have been resolved. Another reason it's not my method of choice is because it involves two signals, one digital and one analog. So each recording will sound slightly different.
If you haven't read it yet, please read and consider using this recommended method for best results. But if you don't have the equipment already and don't want to drop cash to buy the equipment needed, this method would be my 2nd choice.
How to Setup For Recording and Playback with Source-Connect
Before we begin, please keep in mind this guide specifies common connection types. There are many studio setup variations and adapters other than those mentioned may be needed depending on your specific inputs. Simply follow the audio path in this guide to get the audio from point A to point B as shown, using any connector types required in your situation. In other words, the connections and mixer channels you use may differ but the audio path remains the same. I'll explain this as if all your recordings are done in stereo. I'll try to be as detailed as possible while still simplifying to make it easy to follow.
What we're doing is basically using two audio interfaces to send and receive two audio signals. One will be used to send/receive audio with Source-Connect and the other to send/receive audio with Adobe Audition. To bring it all together, we'll push some buttons and turn some knobs on the mixer to control what each audio interface "hears".
What You Need / What I Use
- Windows Operating System: My studio PC has Windows 10 Home Premium
- An audio mixer with Aux Sends: I use a Mackie 1604VLZ-Pro Mixer(I know, overkill for voice over)
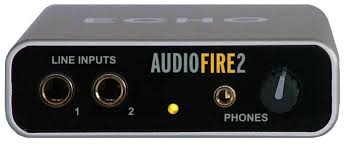
- Two soundcards or audio interfaces: My main audio interface is the AudioFire 2 from Echo Digital Audio. And I used the computer's standard audio input/output jacks as my secondary.
- Source-Connect: Standard, Pro, or Source-Nexus Gateway
- Audio recording/editing software: Adobe Audition CS6 is perfect for voice over!
- Audio Cables: Exact cables you'll need will depend on your studio and gear. For my setup I used one XLR cable, four mono cables and one stereo 3.5mm to dual Y cable.
Step 1: Run an audio cable from the microphone to the audio mixer.
I connect an XLR cable (female end) to my Neumann TLM 103 microphone and run the other end (male end) to the Channel 1 mic input on my Mackie 1604VLZ-Pro. Purpose: This gets the audio from the mic to the mixer so we can control volume and send the mic signal where we want it to go.
Step 2: Run audio cables from audio mixer main outputs to the audio interface inputs.
Connect two mono cables to the (left/right) main outputs on the mixer. Connect the other ends of these cables to the inputs of your main audio interface (AudioFire 2).

Purpose: This sends all the main audio out of the mixer to the audio interface. We'll use this path to send our mixer audio (including mic signal) to Adobe Audition.
Step 3: Run audio cables from audio interface outputs to input channels on the mixer.
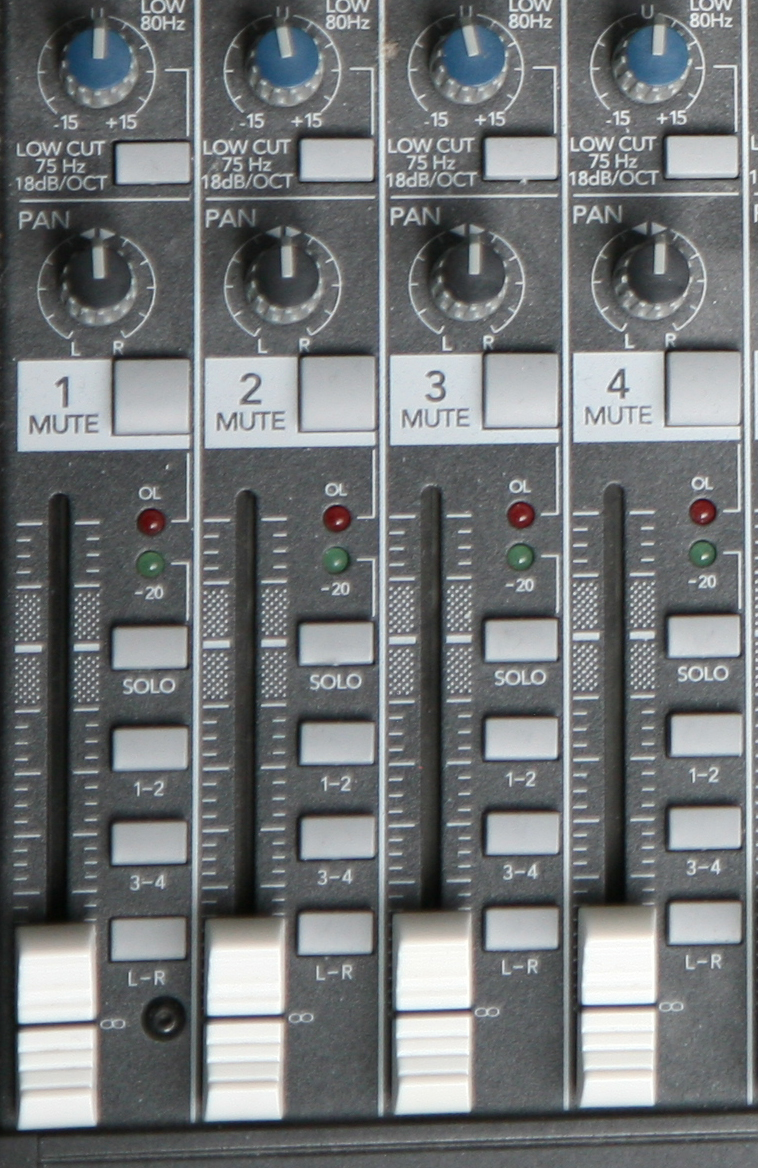
Connect two mono cables to the outputs of your audio interface (AudioFire 2). Connect the other ends of these cables to Channels 2 and 3 inputs on your mixer. On the mixer, turn the pan knob on channel 2 to the left and channel 3 to the right.
Purpose: This sends the audio from your computer to your mixer. We'll use this path to hear playback from Adobe Audition. Up until now I've laid out a pretty basic recording setup and probably how you are already using your audio interface with a mixer. It's a good idea at this point to confirm you have left/right plugged in correctly. You can do this by recording a stereo waveform in your audio editing software. Pan your mic channel (channel 1 in this guide) left and right. You should see the waveform reflect how you pan. If it's reversed (left shows audio when you pan right), you've got a cable crossed. Just swap the connectors of one end of the cable in Step 2. Next, playback your panned recording and confirm your mixer has left and right correct. Again, if it's reversed, swap the connectors on one end of the cable, in Step 3 this time.
Step 4: Run audio cables from mixer aux send outputs to computer soundcard line input.
Look on the mixer for AUX SEND outputs. Using a cable such as the Hosa Technology REAN 3.5mm TRS to Dual 1/4" TS Pro Stereo Breakout Cable, connect the two mono cables to Aux Send 1 and Aux Send 2 on the mixer. Connect the other end (stereo 3.5mm or 1/8") to your computers soundcard line input jack.

Purpose: This sends the audio sent through your Aux Send outputs 1 and 2 of the mixer to the computer through it's built in soundcard. We'll later setup the mixer to use this path to send the mic and Adobe Audition playback to Source-Connect.
Step 5: Run audio cable from computer soundcard output to input channels on your mixer.
Again, using a cable such as the Hosa Technology REAN 3.5mm TRS to Dual 1/4" TS Pro Stereo Breakout Cable, connect the stereo 3.5mm or 1/8" end to your computer's soundcard output jack. Then connect the two mono cables to Channels 4 and 5 inputs on your mixer. On the mixer, turn the pan knob on channel 4 to the left and channel 5 to the right.
Purpose: This sends the audio from your computer soundcard to your mixer. This path will bring the audio you hear from the other studio in your Source-Connect session to the mixer. We'll later setup the mixer so this audio is not sent anywhere. We only want to receive the audio, not send it back out.
Whew! We're done with connecting cables. Let's move on to pushing buttons.
Step 6: Setup the mixer to send the mic signal where it needs to go.
On channel 1 (your mic channel) of the mixer, make sure 3-4 and L-R are both pressed. Still on channel 1, turn up the Aux Send knobs 1 and 2 to the halfway point.

Purpose: This tells your mixer to send your mic signal out through the main out and also through the Aux Sends. So Source-Connect will get a signal and Adobe Audition will get a signal.
Step 7: Setup the mixer to send your Adobe Audition playback to Source-Connect.
On channels 2 and 3 of the mixer, make sure 3-4 is pressed and L-R is NOT pressed. On channel 2, turn up the Aux Send 1 knob halfway and on channel 3, turn up the Aux Send 2 knob halfway. Purpose:
Purpose: This tells your mixer to send audio played in Adobe Audition out your Aux Sends (which goes to Source-Connect).
Step 8: Setup the mixer to hear Source-Connect but not send the signal.
On channels 4 and 5 of the mixer, make sure 3-4 is pressed and L-R is NOT pressed. On channels 4 and 5, turn down the Aux Send knobs completely.
Purpose: This tells your mixer to receive audio from your client on Source-Connect but not to send it back out to Source-Connect or Adobe Audition. It's just to be able to hear the person on the other end of the Source-Connect session.
Step 9: Setup the mixer so you hear everything in your headphones.
On your mixer, look for CTL ROOM SOURCE and press 3-4 and Main Mix. Also, in the "Assign to Mix" area, move 3 and 4 to "U".
Purpose: This tells your mixer that in your headphones you want to hear your mic, Adobe Audition playback and the other person on Source-Connect.
Important Final Tips
Configure Adobe Audition to use your main audio interface (AudioFire2) and Source Connect to use your computer's input/output.
Keep in mind when changing audio driver settings in Windows, you may need to restart for changes to take effect. This can be very frustrating when you think you've set it up correctly (and you have) but Windows doesn't accept the change until restart.
Start Adobe Audition before starting Source-Connect. This way Windows will see your main audio interface is "busy" in Adobe Audition and will automatically assign the computer's input/output to Source-Connect.

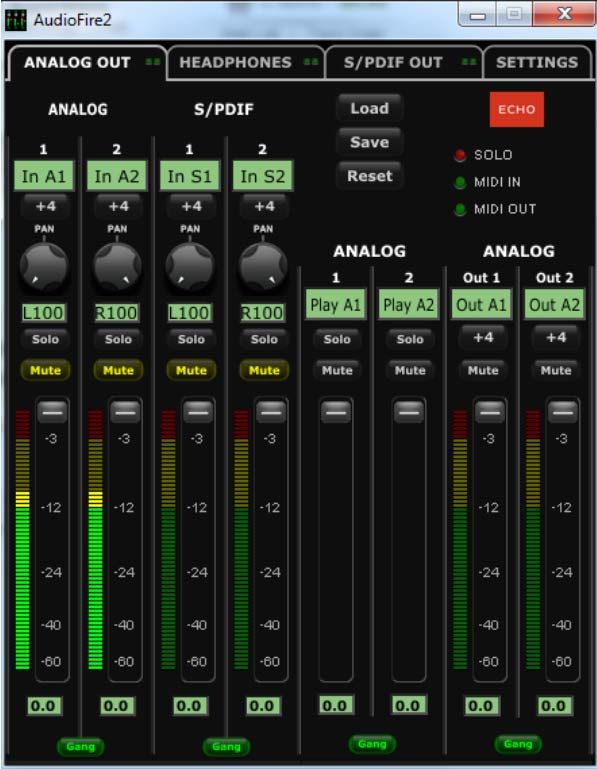
To prevent feedback, you may need to go into the control panel of your audio interface and mute the analog out.
Remember, the Aux Send knobs control what is sent to Source-Connect. So if your mic level sent to Source-Connect is too loud or quiet, adjust the volume by turning the Aux Send 1 and 2 knobs on Channel 1 of the mixer. The same goes for the Adobe Audition playback (channels 2 and 3 on mixer) going to Source-Connect.
Congrats! Your studio is now setup to record and playback during Source-Connect sessions. While this isn't my preferred way to record/playback audio in Source-Connect, using a built-in sound card will work just fine if you can eliminate any interference you may have.
About Jason McCoy
Jason McCoy is a North American male voice over artist and founder of McCoy Productions located in Salisbury, Maryland. He has over 15 years of voice over experience and has voiced projects for leading brands including John Deere, Samsung, Ford, AT&T, Intel, PBS, Volkswagen, Intuit, Honda and many others!
His friendly, genuine, conversational and caring young adult voice style is why clients hire him for eLearning, radio, tv and internet commercials, explainer, safety and sales videos, radio imaging for stations and national radio shows, audio books, phone prompts and more.
Clients around the world are able to direct voice over sessions with Jason live via Source-Connect. To contact Jason McCoy or to hear his demos, visit McCoyProductions.
To connect with Jason over Source-Connect or Source-Nexus Gateway, see his Source Elements Profile.
And over on Social Media:
Table of Contents