How to stream with two computers using Source-Live LL and the NDI™ plugin
This article contains instructions on how to use Source-Live with NDIWhether it is because you have an older system that cannot run Source-Live LL, or because you simply want to stream between two computers so that none of them bears take the strain of the load, you can use the NDI™ plugin and Source-Live LL.
The following steps will cover how to use Source-Live LL and NDI™ to stream from one computer to another using NDI as the source.
Required software to complete this tutorial
- Source-Live Pro LL, which can be downloaded here.
- NDI™ Tools for Windows or Mac, which can be downloaded from the NDI webpage here.
Install NDI
Once you've downloaded the executable (Windows or Mac), install the application. Make sure you check "Scan Converter" if you are on Mac, or "Screen Capture" if you are on Windows.
Set up NDI on your source machine
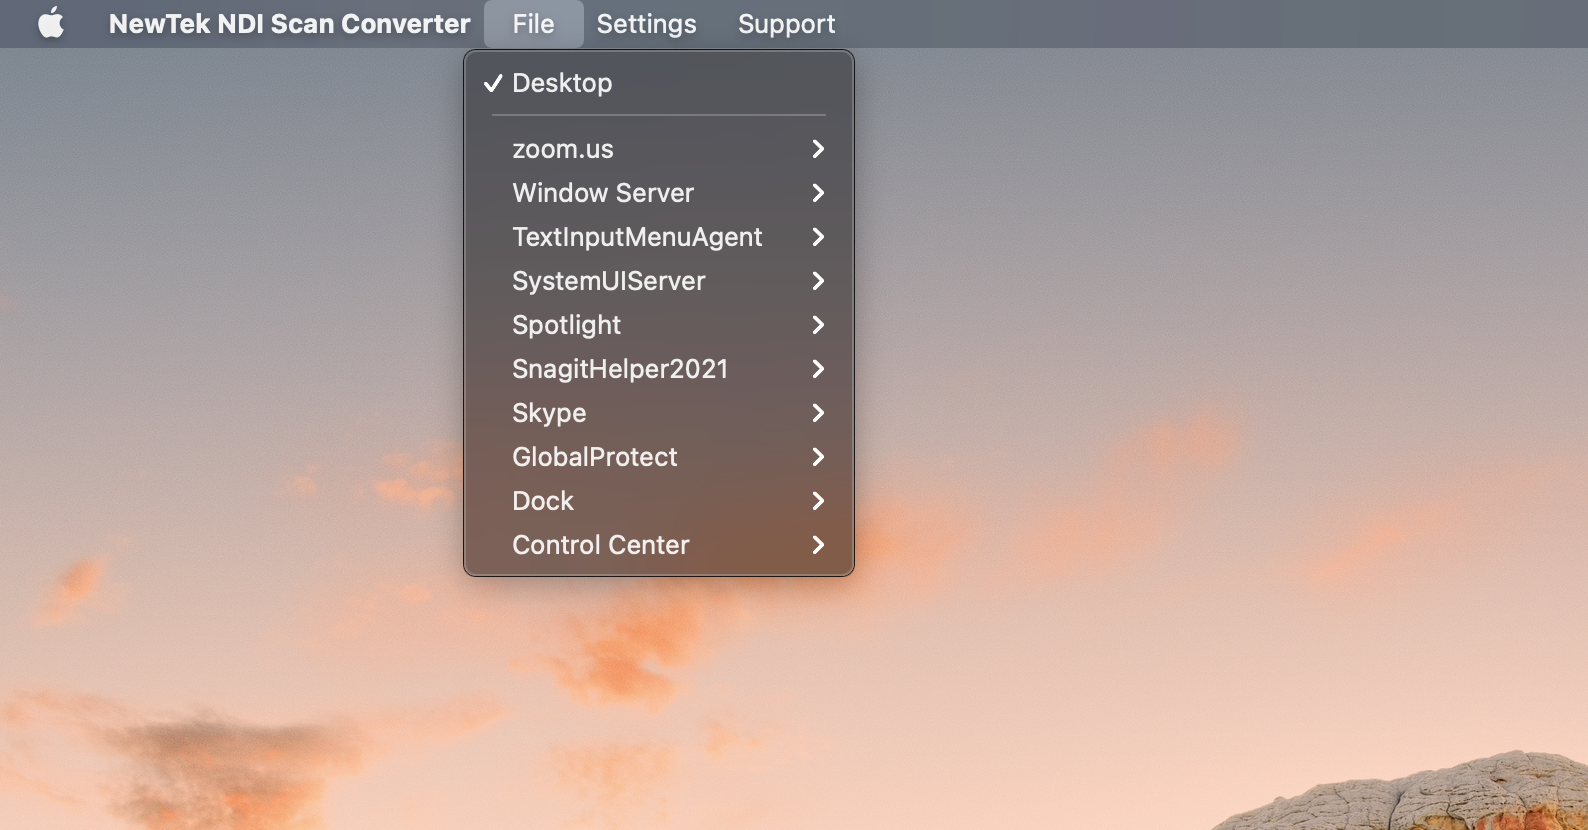
On the computer you will stream OUT of, open up Scan Converter and what it is that you want to stream. In the example below,

If you are on Windows instead, open Screen Capture from the taskbar and select the audio and video settings that you want:

Configure NDI on the machine with Source-Live LL
On the computer with Source-Live LL, click Sources > Select and select "NDI™ Source".

You will then see the Properties page for NDI. Click on the "Source name" dropdown menu, and select the screen you want to stream on Source-Live LL:

Then, configure any necessary NDI settings and click "OK".
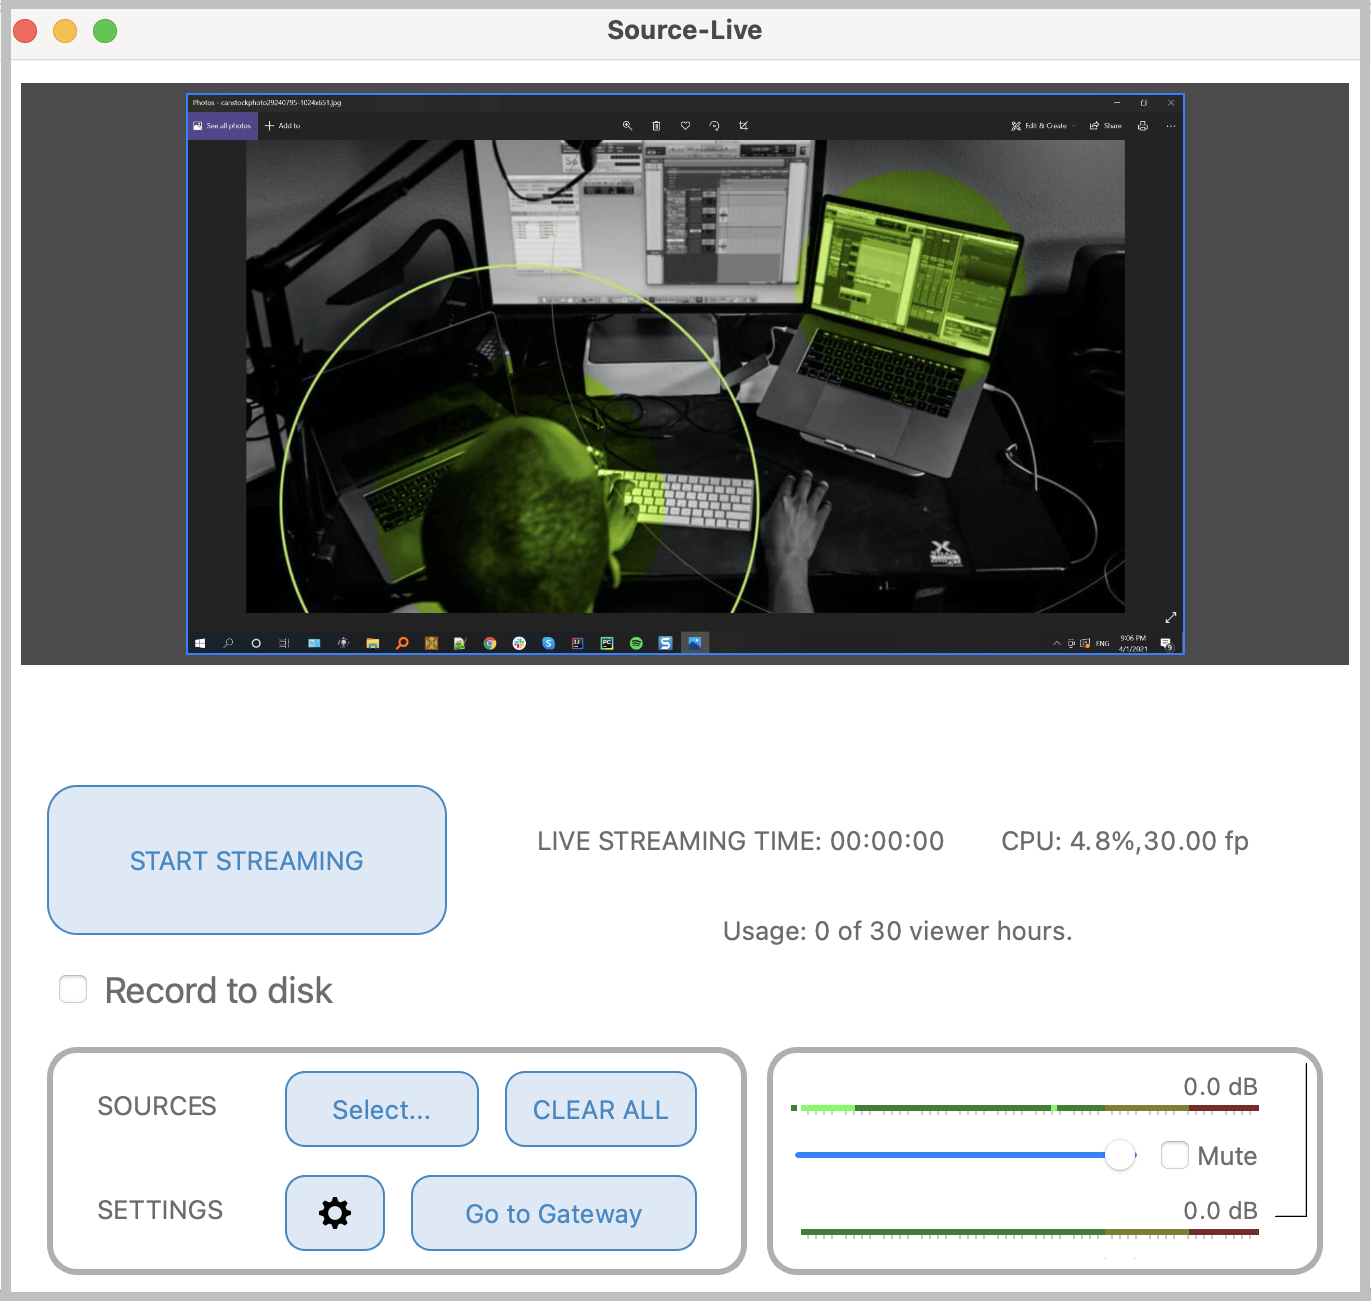
And you're all set! You will now see the screen you wanted to broadcast on your Source-Live LL screen:
