Setting up Source-LTC and Logic Pro to use Generator Mode
This article is part of the Source-LTC User GuideRequired Setup before you Start
Before configuring Source-LTC, you will need to enable an audio driver called “IAC Driver” on the Audio MIDI Setup on your Mac, if it is not already enabled.
In order to do so:
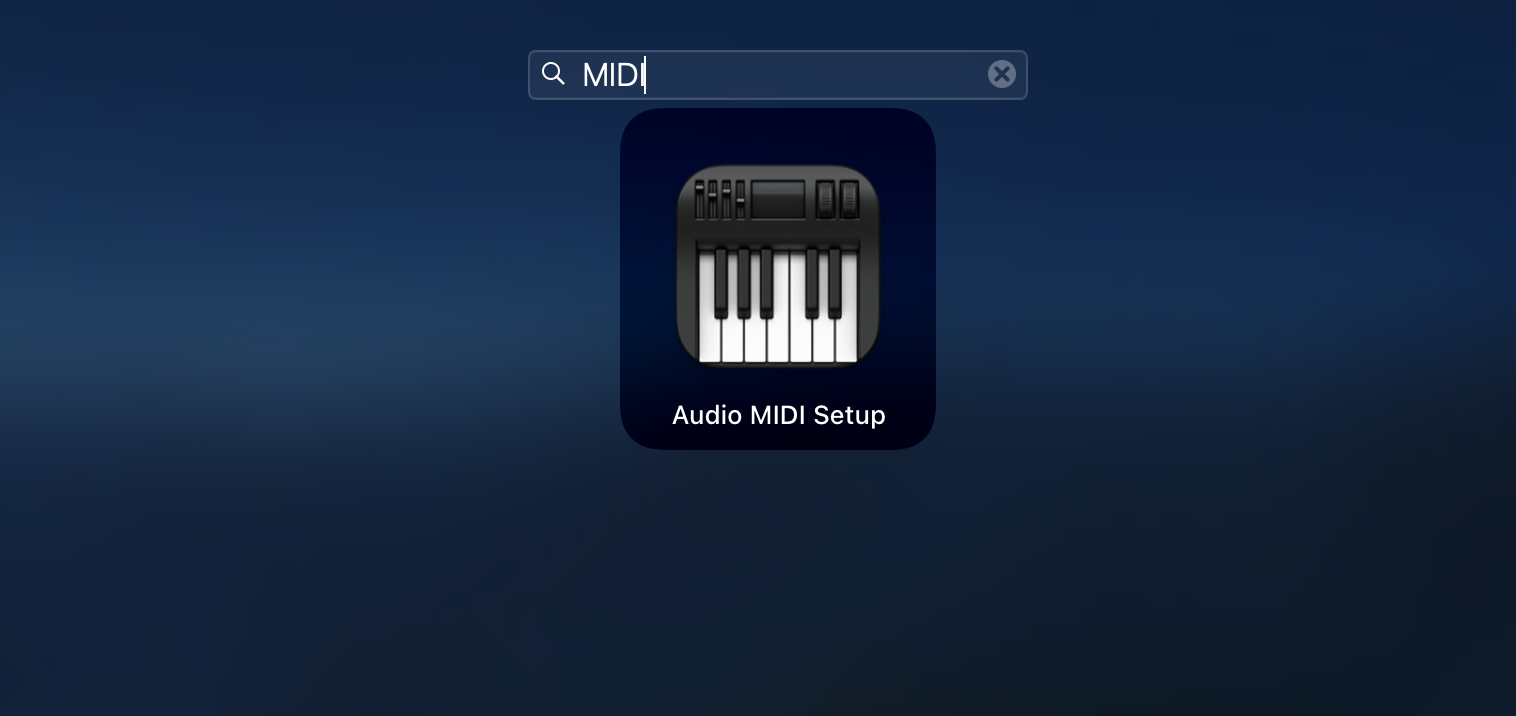
- On your Mac, press cmd + space and search for the “Audio MIDI Setup” application. Otherwise, simply look for the application on your launchpad.
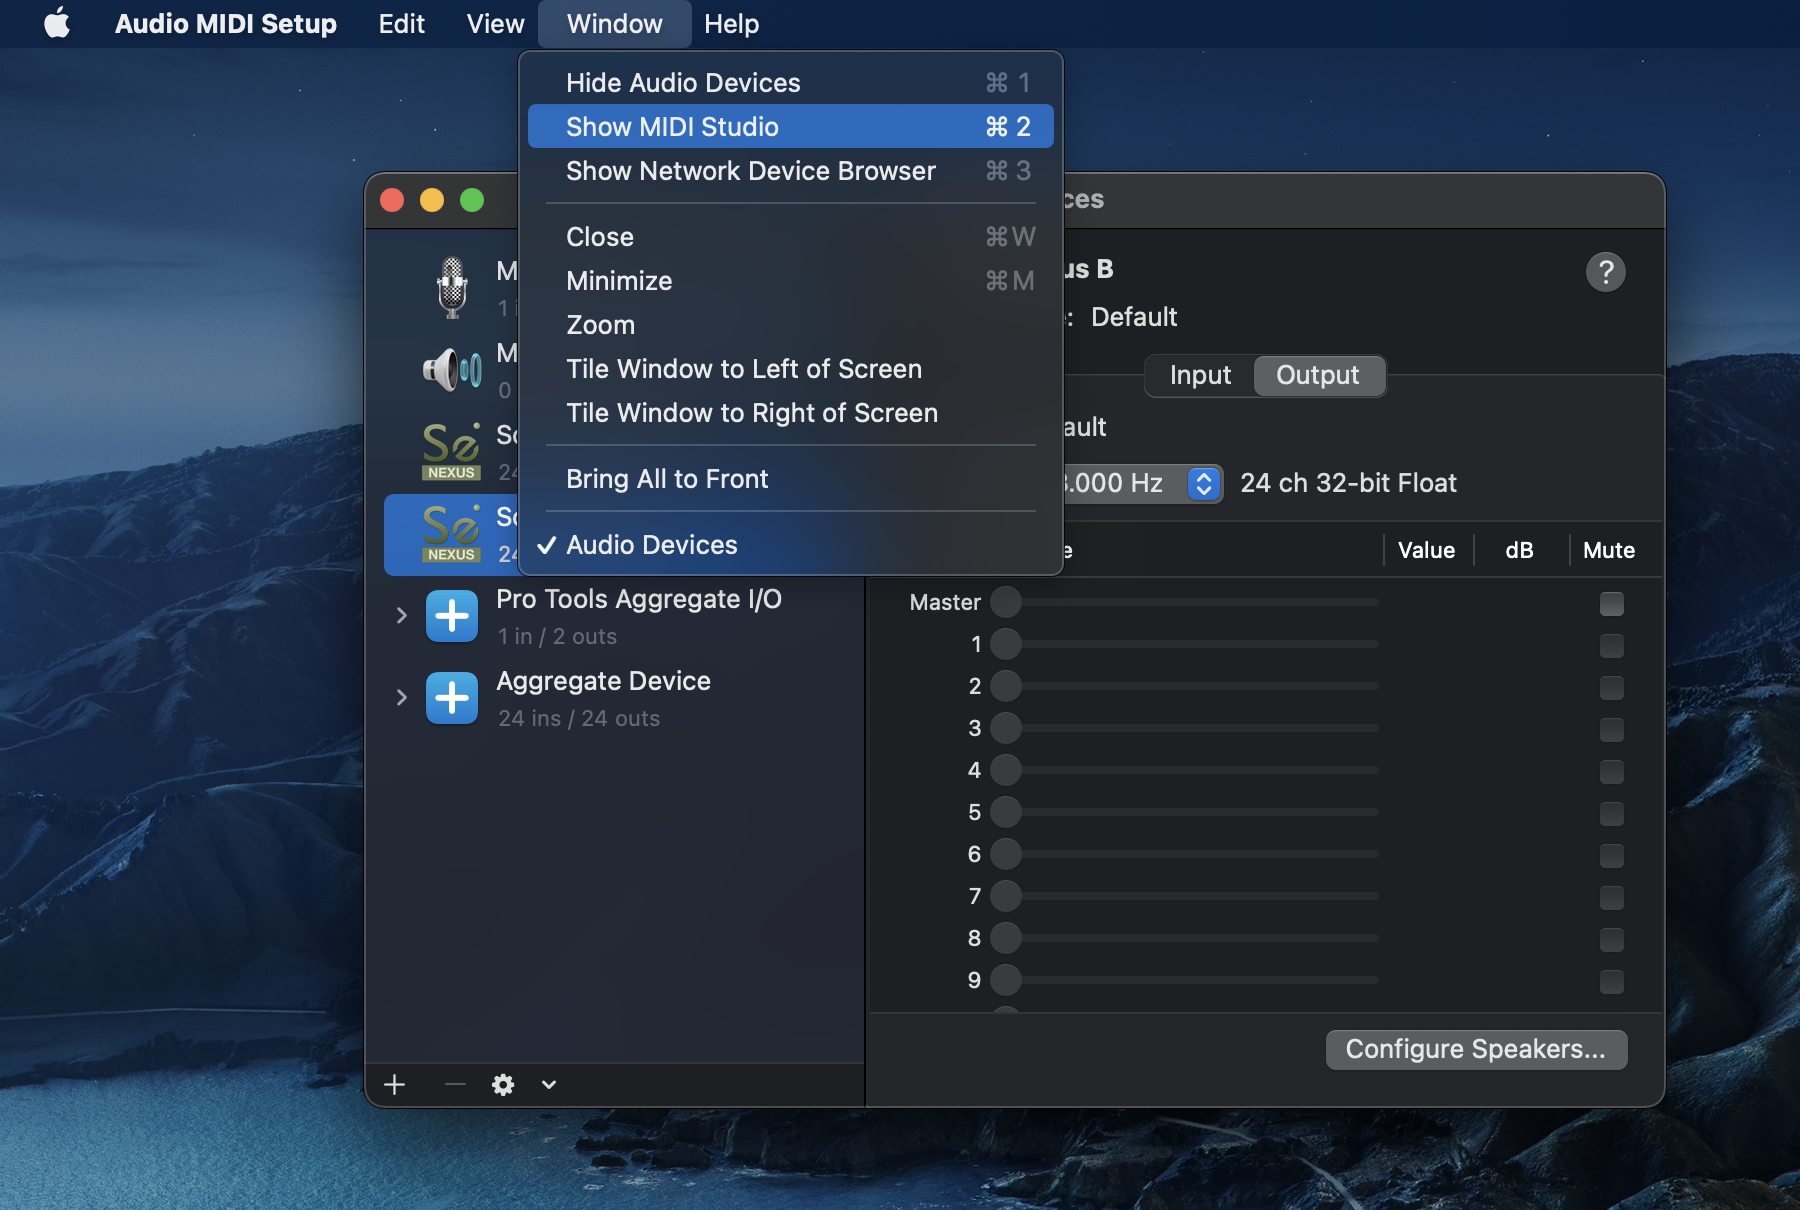
- Go to Window > Show MIDI studio.
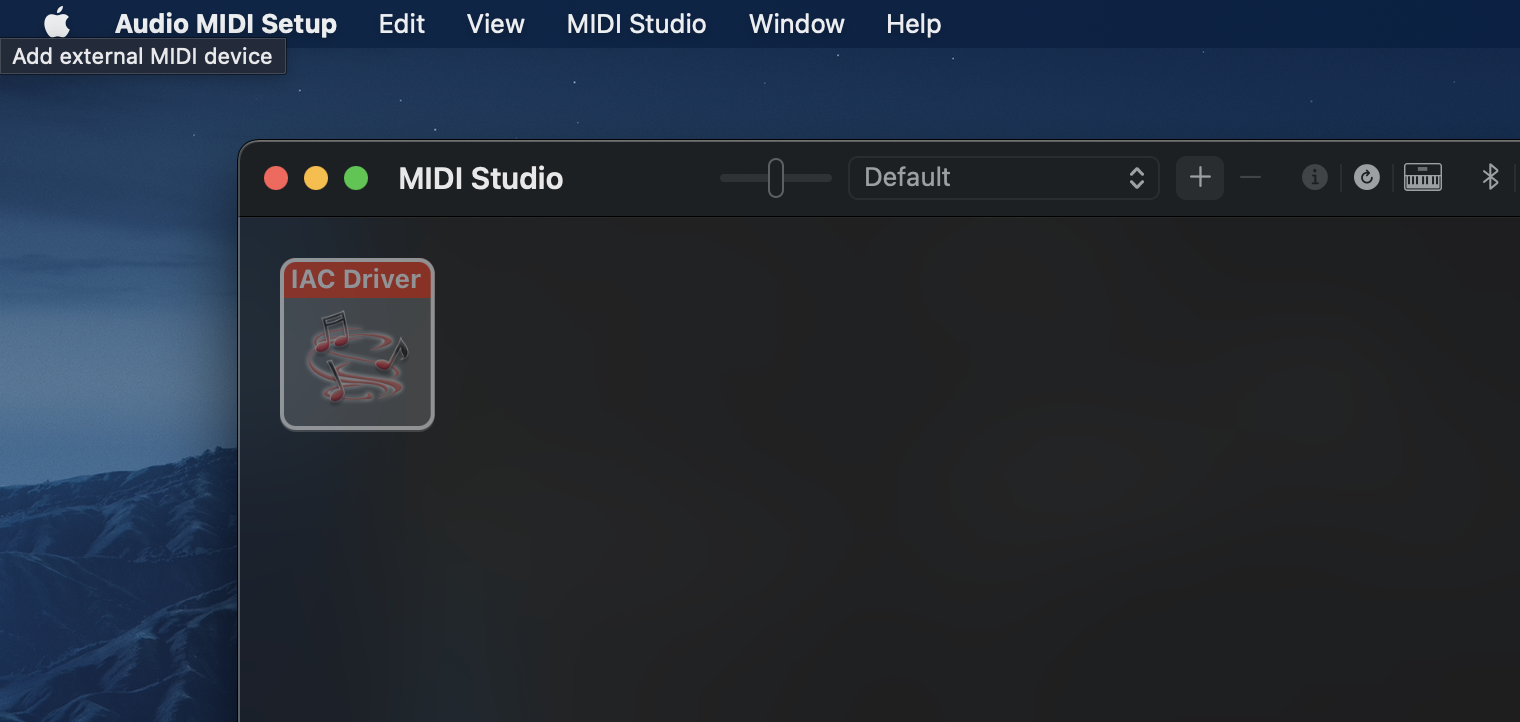
- There should be a tile called “IAC Driver”. If the icon is enabled, skip this configuration.
- Double click on the tile.
- Check the “Device is online” box.

The IAC Driver will now show up on your DAW.
Configuring your Applications for Generator Mode
There are three applications you will need to configure:
- Source-LTC
- Your DAW (in this case, we will illustrate this with Logic Pro)
- Source-Connect.
Please note that if you will be using Source-Connect together with Logic Pro and Source-LTC, you will probably need to use Source-Nexus I/O. Download and install the application before starting this tutorial.
Configuring Source-LTC
When using LTC in Generator mode, you will be configuring LTC to generate the code you will be using in Logic Pro. There are three settings you will need to configure:
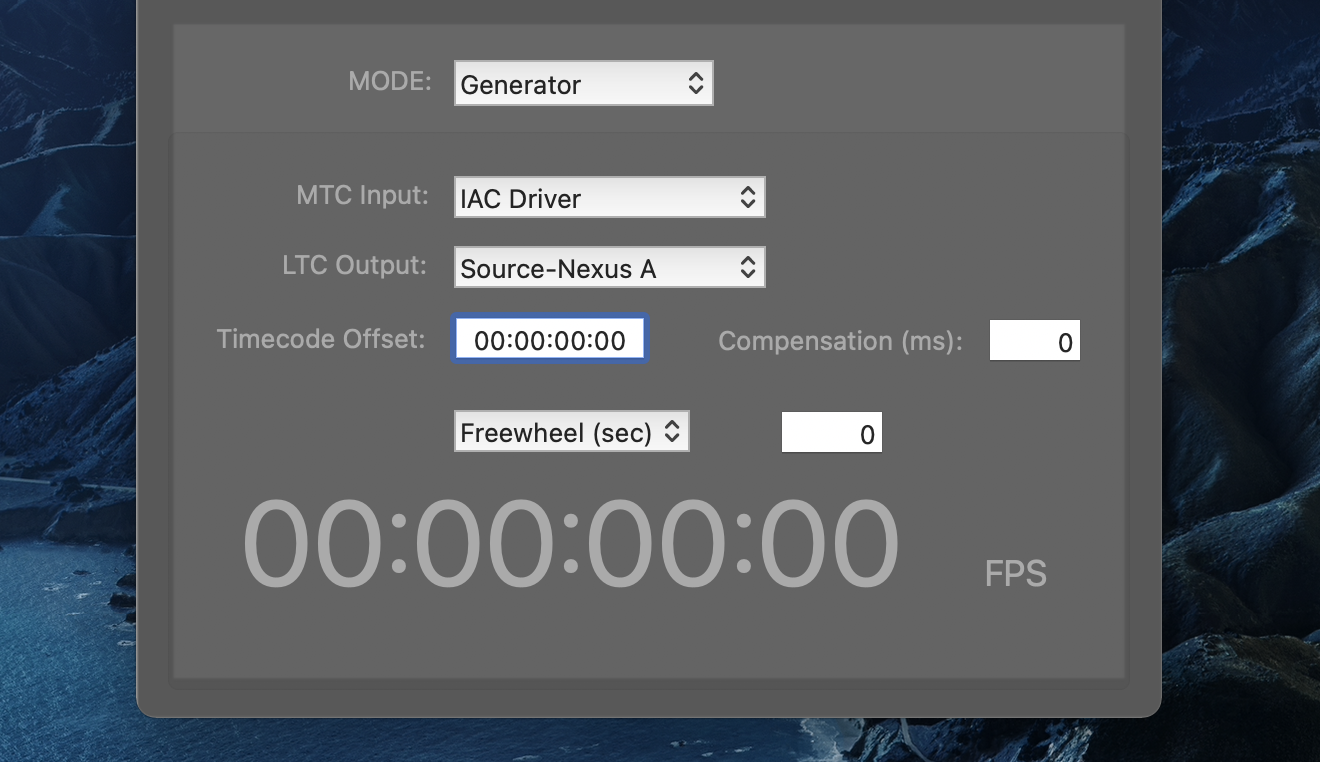
- MODE: Generator
- MTC Input: when using it together with Logic Pro, you will need to select IAC Driver > Bus 1.
- LTC Output: the output that Source-LTC will create the timecode in. It needs to correspond with the audio driver you selected in your application/DAW. For Source-Nexus I/O, use Source-Nexus A > Channel 2.
If needed, you can also set the offset, compensation and sync mode. You can read more about those settings in the previous article (Source-LTC Settings).
Configuring Logic Pro
To generate timecode in Logic Pro, follow the steps below:
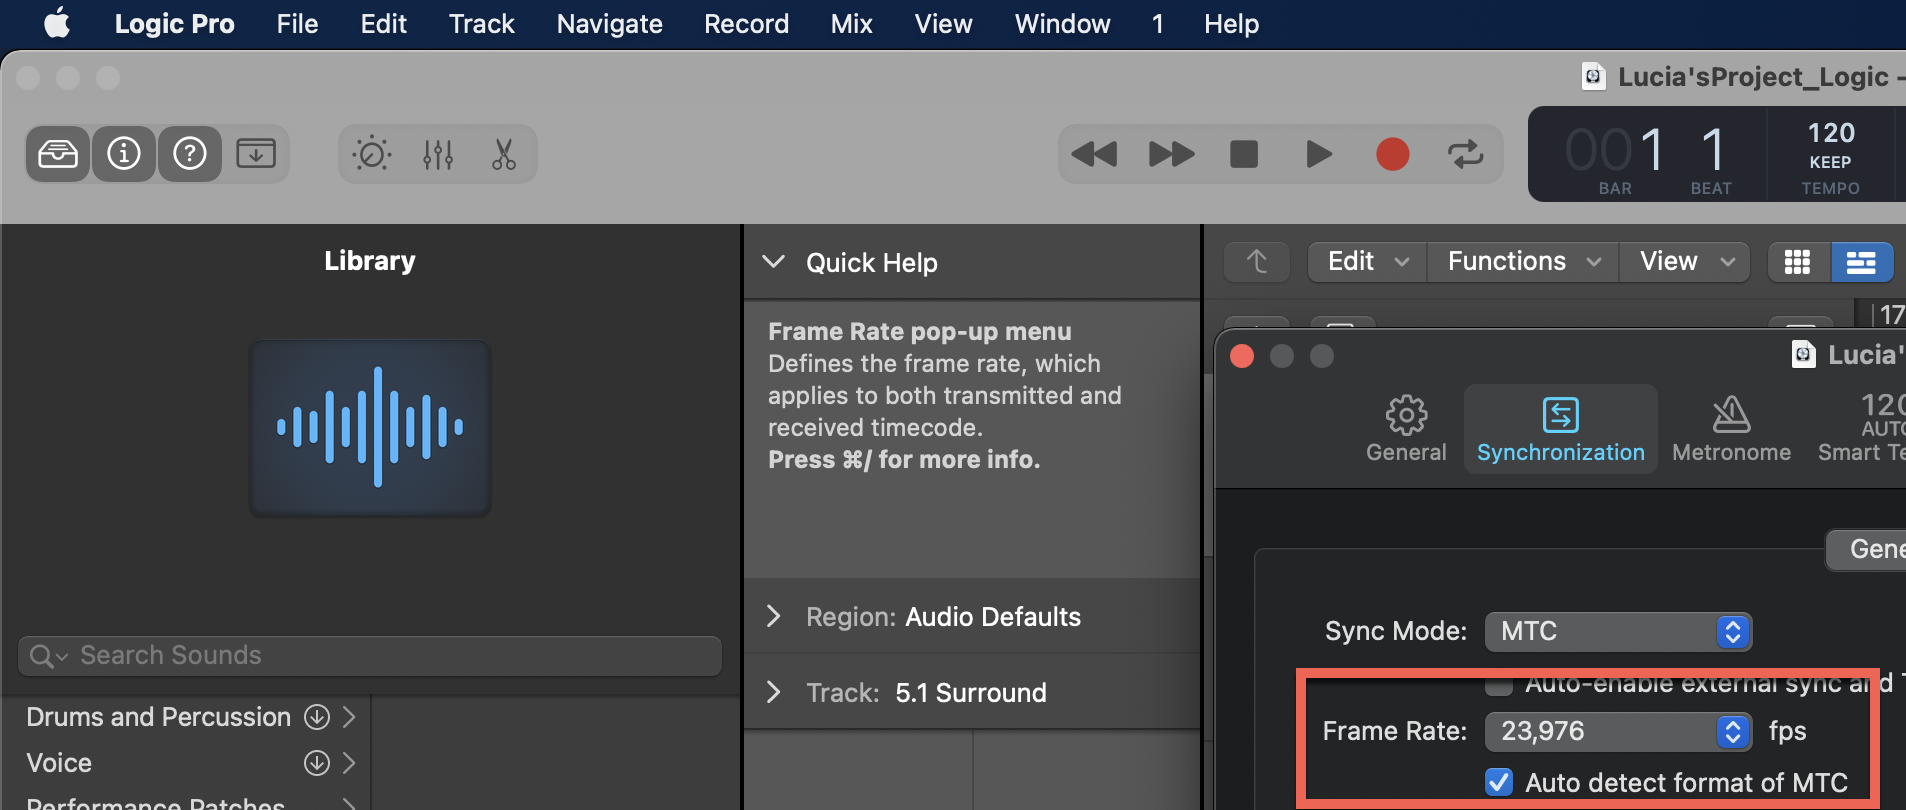
- Make sure that both the generator and the reader side of the connection have matching frame rates (fps) in Logic Pro. You can ensure this by opening up Logic Pro and going to File > Project Settings > Synchronization:
- In Logic Pro, go to Preferences > Display.
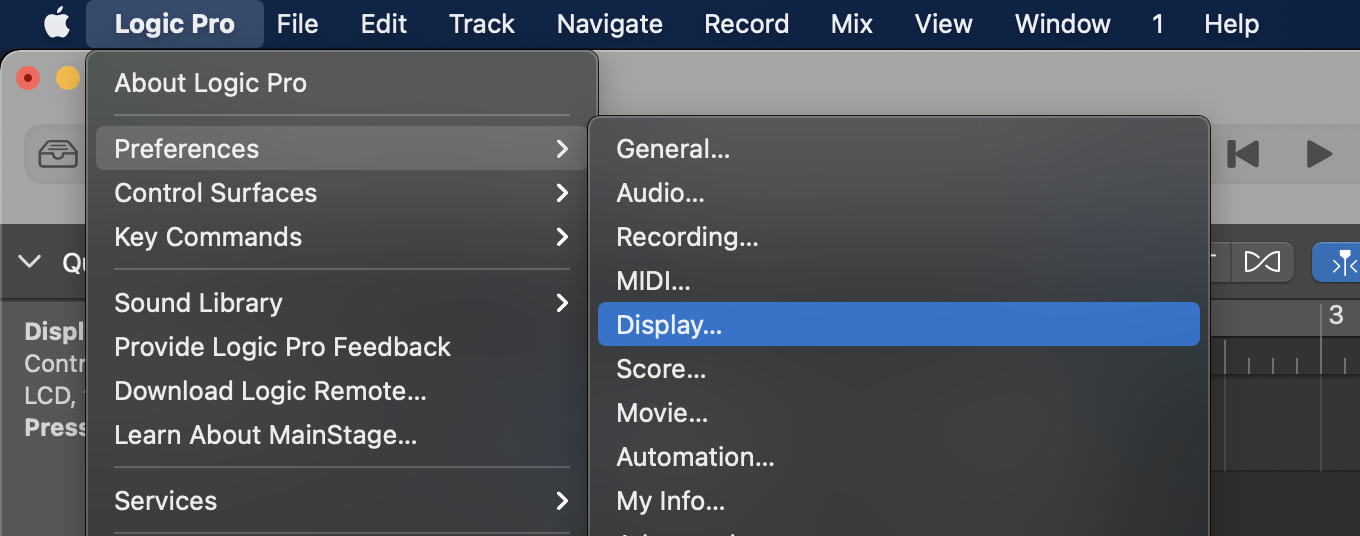
- In the “General” tab, set “Display Time As” to “Hours: Minutes: Seconds: Milliseconds”.

- In Logic Pro, click the “Display Mode” arrow. Then, select “Time”.

- Right click the control bar and select “Customize Control Bar and Display”.

- Under Modes and Functions, check the box next to Sync. This will create a synchronization icon in the control bar.

- First, click this icon to enable Sync.

- Right click the synchronization icon, then select “Synchronization Settings”.
- In the “General” tab, check the following three settings:

- Sync Mode: MTC.
- SMPTE time is 00:00:00:00:00.
- The frame rate value should match the frame rate of your timecode.
- Go to the “Unitor” tab, and make sure the SMPTE Mode is set to “Generate” and the SMPTE Type is set to “LTC”.

- Go to the MIDI tab and, in “Destination”, select “IAC Driver Bus 1”. Then, check the “MTC” box.

- Still in the MIDI tab, click the “MIDI Sync Preferences” button.

- Go to the “Inputs” tab in the Sync Preferences, and make sure the “IAC Driver Bus 1” is selected.

Once you’re ready, press play in Logic, and that’s it! The timecode will be displayed in Logic Pro and Source-LTC will automatically start reflecting it.

Configuring Source-Connect
In Source-Connect, you will need to make sure you are in Stereo mode and that the input is set to Source-Connect A > Input 1 and 2.

If all is correctly configured, you will see volume level on channel 2 indicating the LTC is going through.
